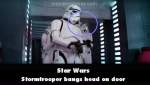
Other mistake: When the stormtroopers break into the control room, the stormtrooper on the right of the screen hits his head on the door frame. On the DVD release they've added a thump when he hits it. (01:18:55)
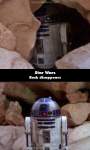
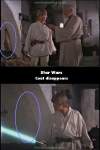
Continuity mistake: When R2-D2 is hiding from the Sand People, he is standing in front of a rock. When he comes out, the rock disappears. 2011 Blu-ray and 2019 4K.
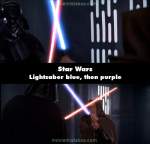
Continuity mistake: DVD and Blu-ray only: When Darth Vader and Obi-Wan are dueling on the Death Star, all shots of Obi-Wan's lightsaber are blue. But in two shots, his lightsaber changes to purple. This was fixed on the 4K release.
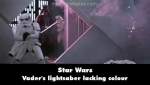
Other mistake: After Darth Vader kills Ben, there's a shot from the docking bay towards him. Vader's lightsaber is missing its red color. [This has been fixed in the 2004 DVD, but is still valid for VHS prints.] (01:28:20)
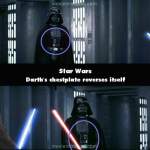
Continuity mistake: When Darth Vader and Ben are fighting, Darth's chestplate is on backwards and the belt "buckle" is as well. It appears that the entire shot was reversed. (01:26:20 - 01:27:15)
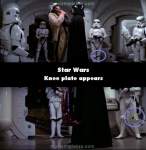
Continuity mistake: After the Stormtrooper tells Darth Vader the Death Star plans are not in the main computer, when Vader lifts the Rebel off his feet by his throat as the Rebel tells him they intercepted no transmissions, take note of the leg plates on the Stormtrooper to Vader's right. In the wide shot, the Stormtrooper's left leg armor does not have the knee protector plate (it looks as if it's at his right knee because the extra switched them), but in the next closeup the knee plate appears at his left knee, as it should be. The trooper also appears to go from right handed to left handed weapon carry. (00:05:40)
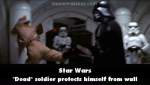
Revealing mistake: In the scene at the end of the very first battle, where Imperial troops have just taken control of Princess Leia's rebel ship, Darth Vader breaks the neck of the Captain Antilles and tosses his body to the wall. The "dead" Captain puts up both of his hands to avoid slamming his face into the wall. (00:05:40)
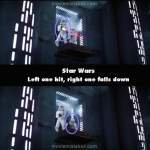
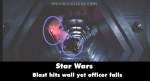
Other mistake: In the scene where Luke and Leia are about to swing across the canyon inside the Death Star, Leia shoots one last time. She hits the bulkhead behind the stormtrooper on the right and he falls forward. The trooper on the left continues firing (as seen in the screencap). (01:25:25)
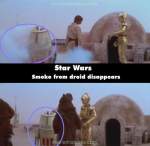
Continuity mistake: When the Jawas are walking toward Luke to take the damaged droid, there's no more smoke coming from it but in the following shot, there's a lot of smoke. (00:19:18)
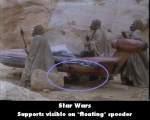
Revealing mistake: When the Tusken Raiders are seen raiding Luke's speeder, you can actually see the wheels or at least whatever is holding it up off the ground. (00:28:10)
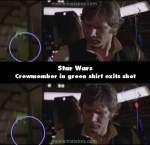
Visible crew/equipment: Just after the Falcon takes off from Mos Eisley, there's a shot of the Falcon with Star Destroyers chasing. The next shot is of Han Solo alone in the cockpit. Watch carefully behind him in the doorway, and you'll see the shoulder of a man in a green shirt quickly move out of shot. In fact, this is Alec Guinness and the shot is an insert from the slightly later scene where Obi-Wan and Luke are in the cockpit. After Han tells them to strap in for their jump to light speed, this shot is seen again with the pair retreating down the ship's corridor. The earlier shot reuses the final frames of the later footage and the edge of Guinness' shoulder, his costume reflecting the green set lights, is visible. (01:01:05)
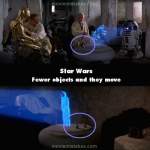
Continuity mistake: When Obi-wan and Luke are watching the hologram of Princess Leia projected onto a small table, the objects on the table change position and number in each shot. (00:33:35)
Revealing mistake: When an Imperial Officer is running down the tunnel in the Detention Block towards Han, Luke and Chewbacca, Han clearly shoots the top-left hand corner of the tunnel and the Imperial Officer falls down the stairs as if he shot him. (01:14:55)
Suggested correction: This is definitely intentional, not an error. We see stormtroopers being killed by nearby shots throughout the movie, blasters having a smaller 'shock wave' is just a retcon.
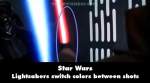
Continuity mistake: Twice during the lightsaber duel, Ben and Vader inexplicably change sabers as the color jumps from one sword to another. Vader is swinging the blue sword while Ben holds the red one. (01:30:55)
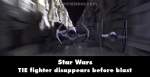
Continuity mistake: After Vader says "I have you now", in the first frame of the next shot, the TIE fighter disappears for the first frame and reappears in the second frame before it's blasted by Han Solo. It was restored in the first frame on the DVD.
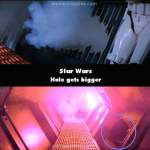
Continuity mistake: When Leia shoots a hole in the detention area wall for their escape, the hole is not big enough to jump through, but when they all jump in, the hole is much bigger. (01:15:10)
Continuity mistake: When Luke is in Obi-Wan's house trying Anakin's lightsaber, the coat behind him keeps appearing and disappearing. (00:32:15)
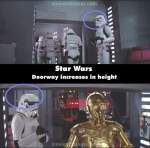
Continuity mistake: When a stormtrooper stands guard by the door of the control room, the door is low enough for someone to hit their head on. But when C-3PO wants to take R2-D2 "down to maintenance", there is plenty of clearance between the trooper's head and the bottom of the door. This has nothing to do with camera angles, as Threepio is the same height as the trooper, and walks out of the room with no problem. (01:22:40)
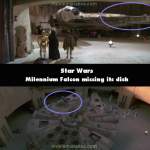
Other mistake: In the first shot of the Millennium Falcon in the special edition, the top of the ship is missing its radar dish. (00:54:30)
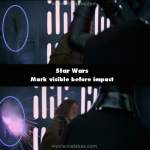
Continuity mistake: During the battle between Obi-Wan and Darth Vader, there's a scorched slash mark on the wall to Obi-Wan's right before either saber makes contact with it. A few seconds later Darth slashes his saber in exactly that spot (we can see the scorch mark again before he hits it). (01:26:50)


